This post was created using version 3.x.x of refine. Although we plan to update it with the latest version of refine as soon as possible, you can still benefit from the post in the meantime.
You should know that refine version 4.x.x is backward compatible with version 3.x.x, so there is no need to worry. If you want to see the differences between the two versions, check out the migration guide.
Just be aware that the source code example in this post have been updated to version 4.x.x.
In this guide, we will learn how to import any CSV file received from the user with React. Our application will consist of two parts. We will create a form for the user to select a file. Next, we will do some operations with JavaScript to be able to view this CSV file. Let's start with our example.
Example
First, let's create a Form in React so that the user can upload a CSV file.
function App() {
    return (
        <div style={{ textAlign: "center" }}>
            <h1>REACTJS CSV IMPORT EXAMPLE </h1>
            <form>
                <input type={"file"} accept={".csv"} />
                <button>IMPORT CSV</button>
            </form>
        </div>
    );
}
We created a simple form and our input items. With the accept feature of the input element, we specify that the format of the file can only be CSV. Now, let's load and read the CSV file selected by the user with FileReader.
import React, { useState } from "react";

function App() {
    const [file, setFile] = useState();

    const fileReader = new FileReader();

    const handleOnChange = (e) => {
        setFile(e.target.files[0]);
    };

    const handleOnSubmit = (e) => {
        e.preventDefault();

        if (file) {
            fileReader.onload = function (event) {
                const csvOutput = event.target.result;
            };

            fileReader.readAsText(file);
        }
    };

    return (
        <div style={{ textAlign: "center" }}>
            <h1>REACTJS CSV IMPORT EXAMPLE </h1>
            <form>
                <input
                    type={"file"}
                    id={"csvFileInput"}
                    accept={".csv"}
                    onChange={handleOnChange}
                />

                <button
                    onClick={(e) => {
                        handleOnSubmit(e);
                    }}
                >
                    IMPORT CSV
                </button>
            </form>
        </div>
    );
}
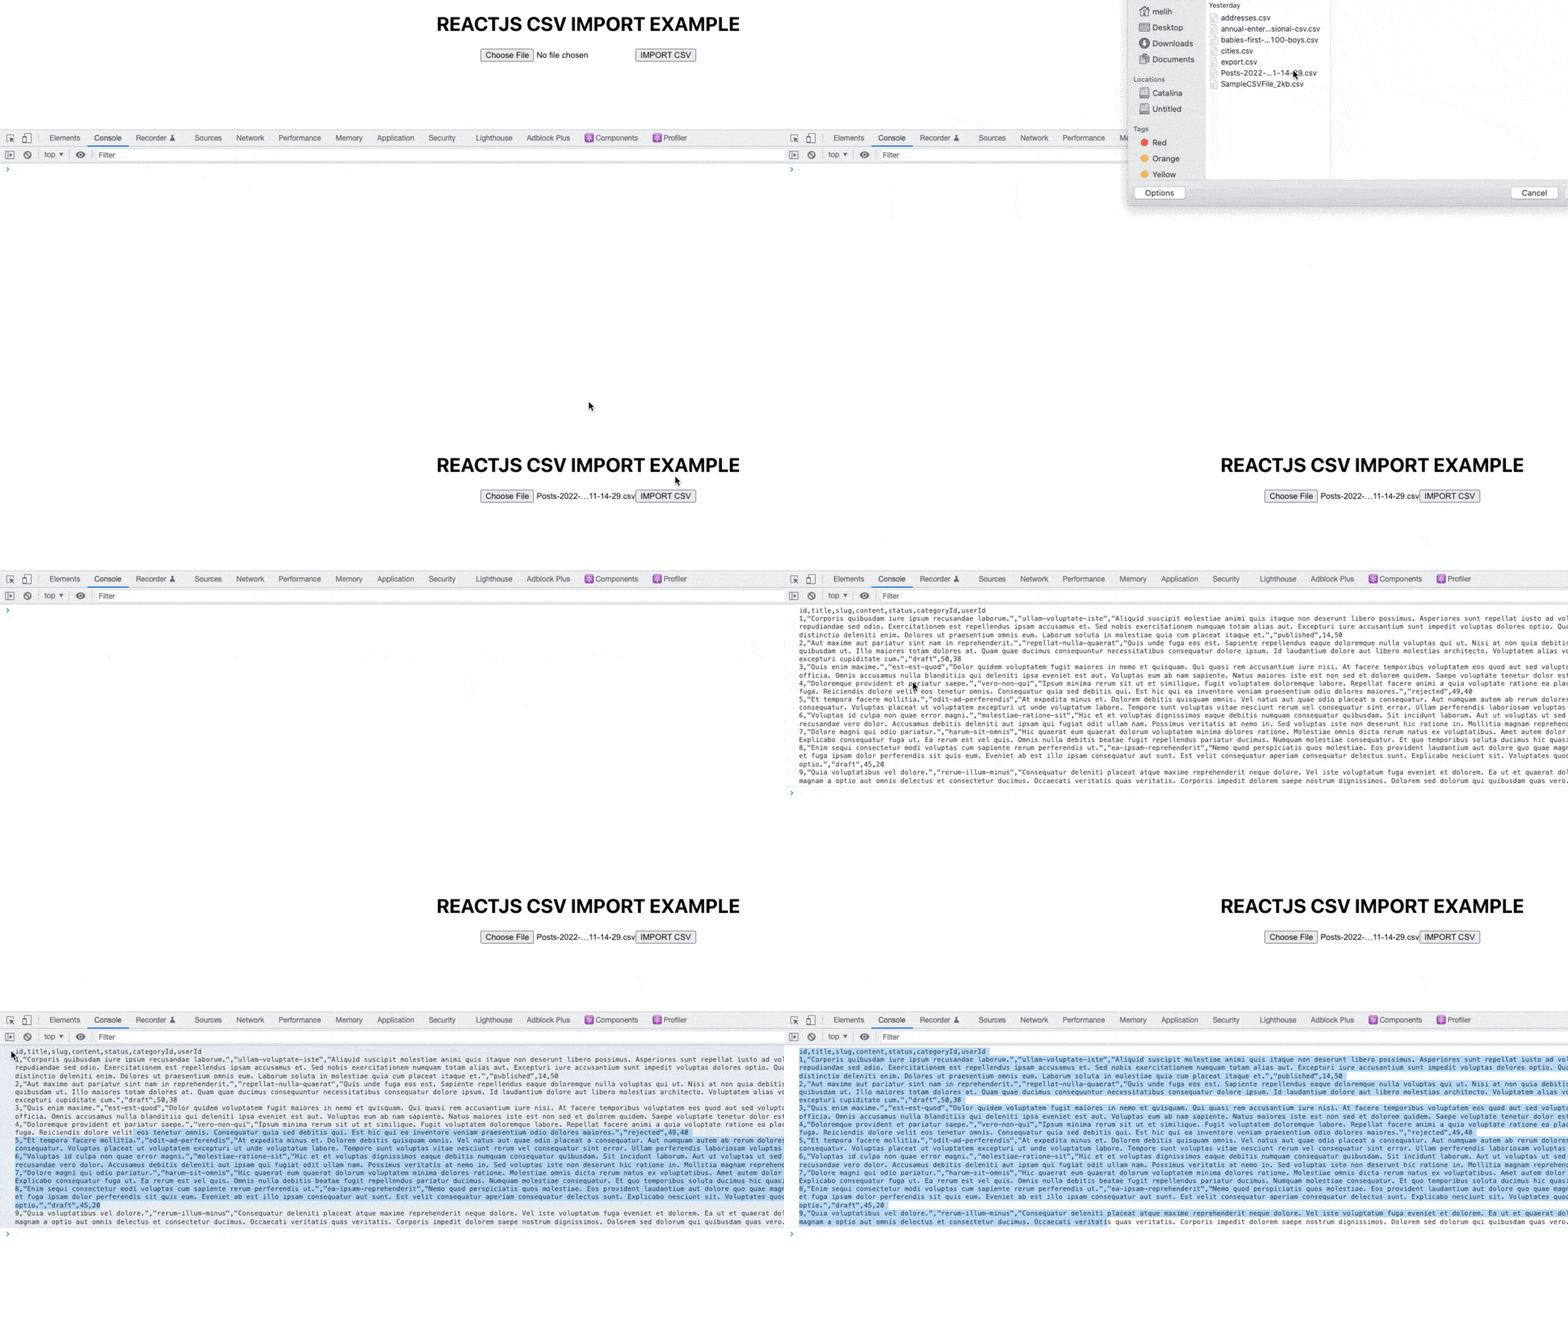
Here, once the user-selected file has been successfully uploaded, we can process and display the file. Now let's load a sample CSV file and see it output on our console.

As you can see, we can now read a selected CSV file. We can convert this file, which we read as a plain text type, into an Array of Object with JavaScript and place it inside a Table element.
function App() {
 import React, { useState } from "react";

function App() {
  const [file, setFile] = useState();
  const [array, setArray] = useState([]);

  const fileReader = new FileReader();

  const handleOnChange = (e) => {
    setFile(e.target.files[0]);
  };

  const csvFileToArray = string => {
    const csvHeader = string.slice(0, string.indexOf("\n")).split(",");
    const csvRows = string.slice(string.indexOf("\n") + 1).split("\n");

    const array = csvRows.map(i => {
      const values = i.split(",");
      const obj = csvHeader.reduce((object, header, index) => {
        object[header] = values[index];
        return object;
      }, {});
      return obj;
    });

    setArray(array);
  };

  const handleOnSubmit = (e) => {
    e.preventDefault();

    if (file) {
      fileReader.onload = function (event) {
        const text = event.target.result;
        csvFileToArray(text);
      };

      fileReader.readAsText(file);
    }
  };

  const headerKeys = Object.keys(Object.assign({}, ...array));

  return (
    <div style={{ textAlign: "center" }}>
      <h1>REACTJS CSV IMPORT EXAMPLE </h1>
      <form>
        <input
          type={"file"}
          id={"csvFileInput"}
          accept={".csv"}
          onChange={handleOnChange}
        />

        <button
          onClick={(e) => {
            handleOnSubmit(e);
          }}
        >
          IMPORT CSV
        </button>
      </form>

      <br />

      <table>
        <thead>
          <tr key={"header"}>
            {headerKeys.map((key) => (
              <th>{key}</th>
            ))}
          </tr>
        </thead>

        <tbody>
          {array.map((item) => (
            <tr key={item.id}>
              {Object.values(item).map((val) => (
                <td>{val}</td>
              ))}
            </tr>
          ))}
        </tbody>
      </table>
    </div>
  );
}
....

We formatted the CSV file that came in plain text format, using Javascript slice and split methods, and created two separate array. Then we converted Header and Rows arrays to Array of Object format as Key, Value.

Live Codesandbox Example
How to CSV Import with Refine?
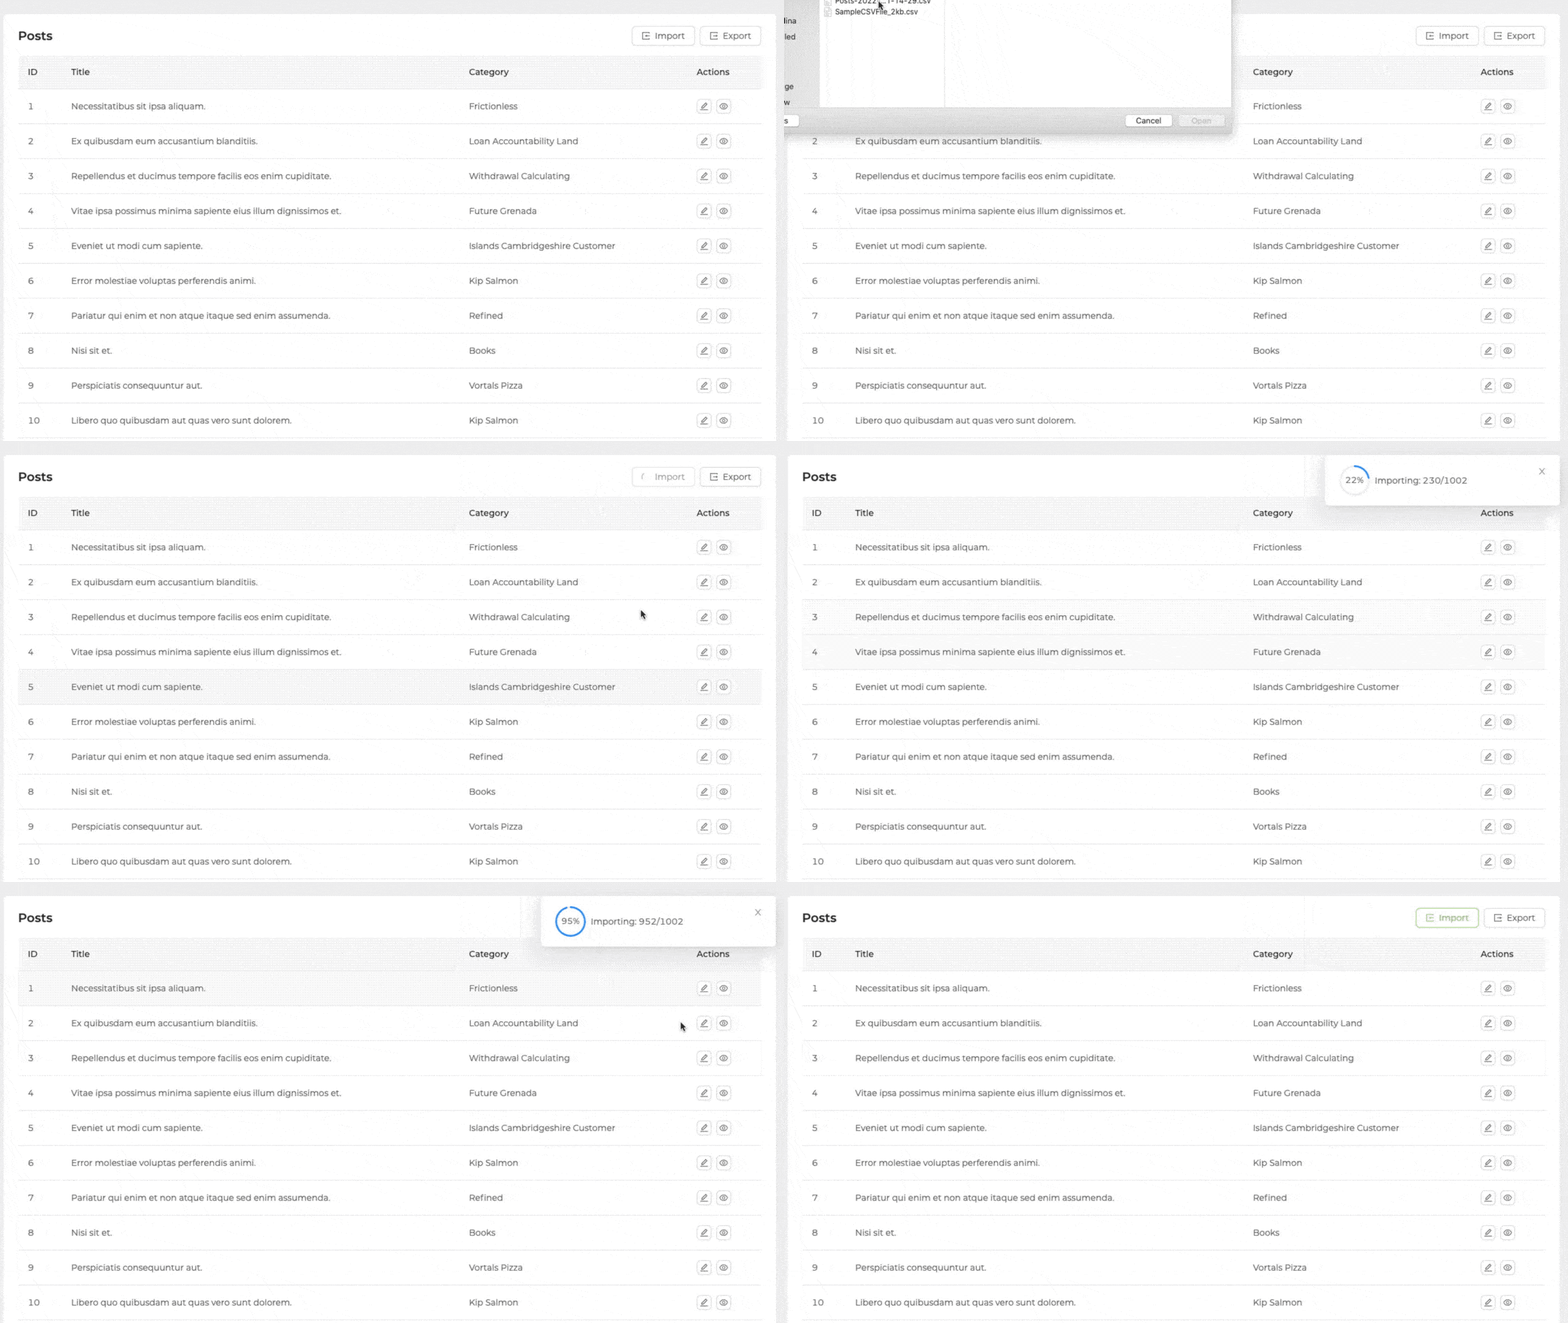
The CSV import with refine is very simple and out-of-the-box feature. How to use it is explained step by step in the guide and example.
Refer to the refine CSV import guide for more information. →
Refine CSV Import Usage

Importing CSV files is simple and fast using the useImport hook and ImportButton provided by refine.
import {
    List,
    Table,
    useTable,
    useImport,
    ImportButton,
} from "@refinedev/antd";

export const PostList: React.FC = () => {
    const { tableProps } = useTable<IPost>();

    const importProps = useImport<IPostFile>();

    return (
        <List
            pageHeaderProps={{
                extra: <ImportButton {...importProps} />,
            }}
        >
            <Table {...tableProps} rowKey="id">
                <Table.Column dataIndex="id" title="ID" />
                <Table.Column dataIndex="title" title="Title" />
                <Table.Column dataIndex="status" title="Status" />
            </Table>
        </List>
    );
};

interface IPostFile {
    title: string;
    categoryId: string;
}
interface IPost {
    id: string;
    title: string;
    status: string;
}
You can also divide the data into chunk with the batchSize option while performing the insertion process.
Refer to the refine CSV Import API References for more information. →

