

Uploading files using Base64 encoding is a common practice. In this guide, I'm going to show you how to upload files using base64 encoding
What is Base64 encoding?
Base64 Encoding is the most widely used technique for storing or transmitting binary data by converting it to text. With this technique, binary data, which basically consists of 8-bit bytes, is divided into 6-bit (2^6 = 64) parts. 64 different numbers expressed in 6 bits are matched with 64 different characters expressed as Printable Characters in the ASCII character set.
Base64 encoding is most commonly used to attach binary files to electronic mail in applications of the MIME (Multipurpose Internet Mail Extensions) standard.
Another usage area of Base64 Encoding is adding images and other files to HTML and CSS documents by encoding with Base64 using Data URLs format in modern browsers.
Example
In our example, we will upload the image file by encoding the image as Base64. First, let's write simple HTML and set the Bootstrap CSS link.
<!DOCTYPE html>
<html lang="en">
    <head>
        <meta charset="utf-8" />
        <meta name="viewport" content="width=device-width, initial-scale=1" />
        <link rel="stylesheet" href="./index.css" />
        <link
            href="https://cdn.jsdelivr.net/npm/bootstrap@5.0.2/dist/css/bootstrap.min.css"
            rel="stylesheet"
            integrity="sha384-EVSTQN3/azprG1Anm3QDgpJLIm9Nao0Yz1ztcQTwFspd3yD65VohhpuuCOmLASjC"
            crossorigin="anonymous"
        />
        <title>Base64 File Upload</title>
    </head>

    <body>
        <div style="margin: 24px">
            <h2>Upload Image</h2>
        </div>

        <script src="./index.js"></script>
    </body>
</html>
Then we need to use the HTML input tag to receive an image file from the user.
We will use file input because it must be the input type file we want to receive.
<!DOCTYPE html>
<html lang="en">
  <head>
    <meta charset="utf-8" />
    <meta name="viewport" content="width=device-width, initial-scale=1" />
    <link rel="stylesheet" href="./index.css" />
    <link href="assets/css/bootstrap-responsive.css" rel="stylesheet" />
    <link
      href="https://cdn.jsdelivr.net/npm/bootstrap@5.0.2/dist/css/bootstrap.min.css"
      rel="stylesheet"
      integrity="sha384-EVSTQN3/azprG1Anm3QDgpJLIm9Nao0Yz1ztcQTwFspd3yD65VohhpuuCOmLASjC"
      crossorigin="anonymous"
    />

    <title>Base64 File Upload</title>
  </head>
  <body>
    <div style="margin: 24px">
      <h2>Upload Image</h2>
    </div>
    <div style="margin: 16px; padding: 16px">
      <input
        class="form-control form-control-lg"
        id="selectAvatar"
        type="file"
      />
    </div>
</html>
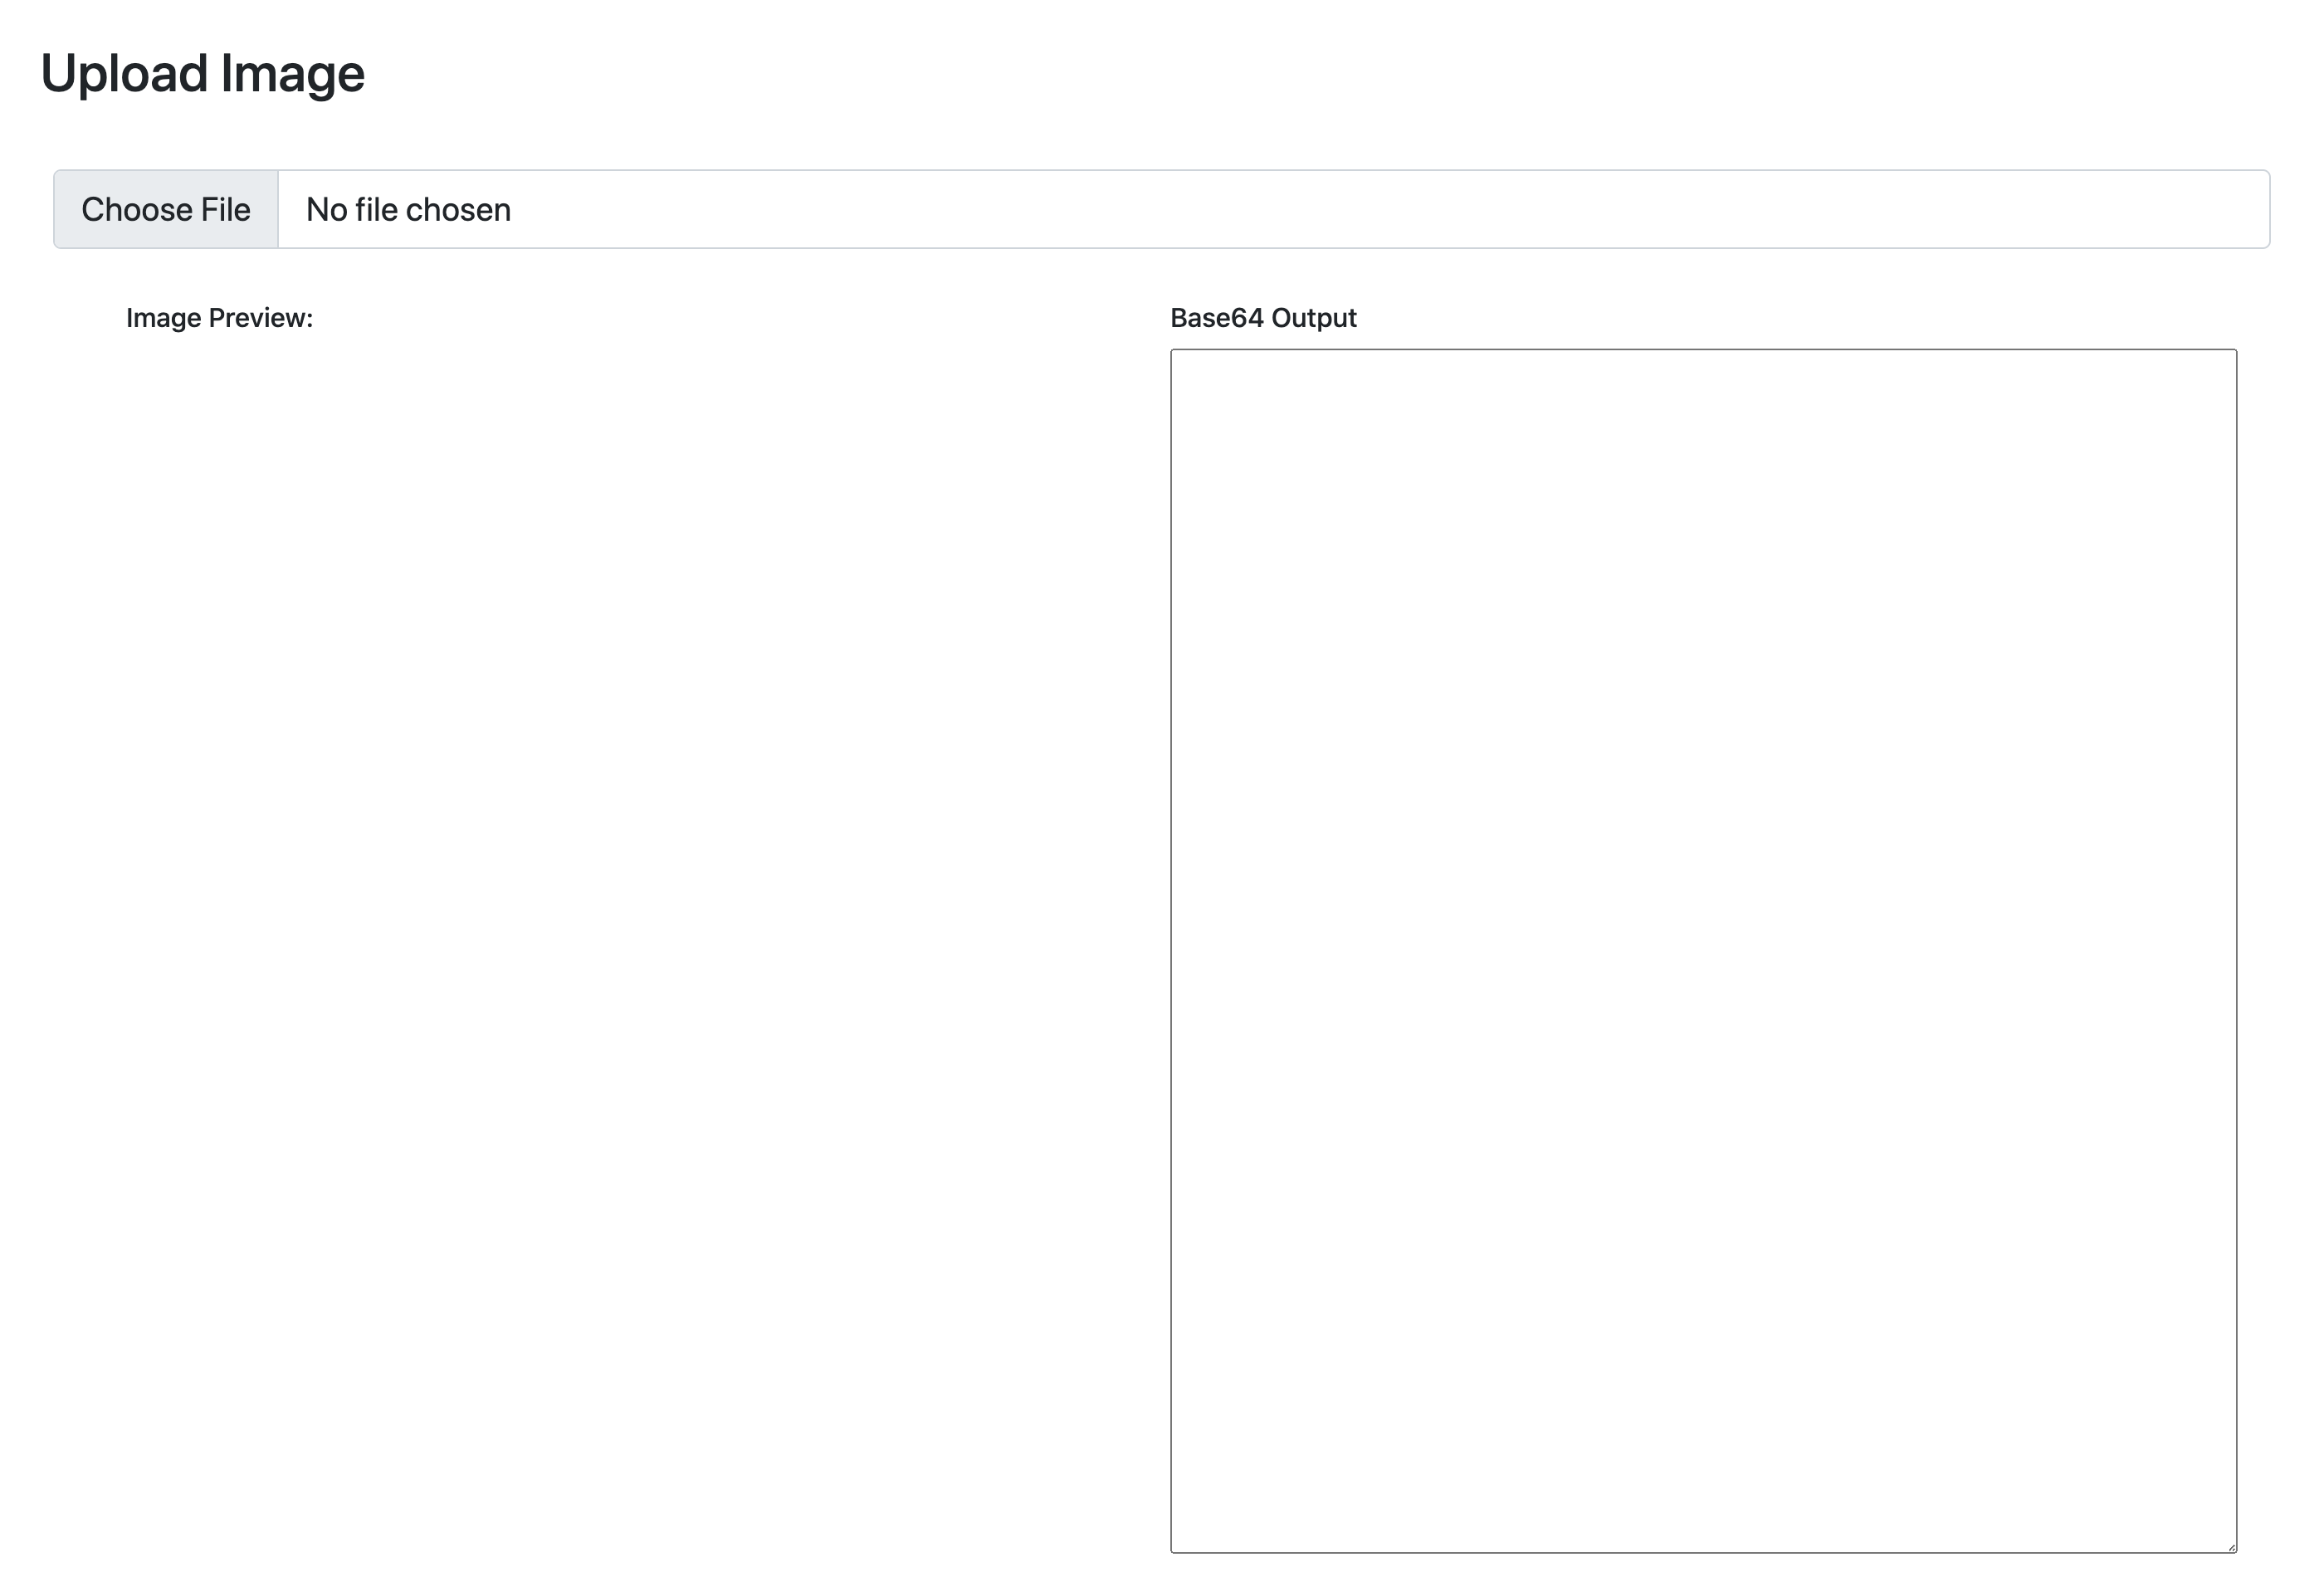
Now we have an input to interact with the user and select a file. Let's add the HTML elements that will show the image file and Base64 code we received from the user.
<!DOCTYPE html>
<html lang="en">
    <head>
        <meta charset="utf-8" />
        <meta name="viewport" content="width=device-width, initial-scale=1" />
        <link rel="stylesheet" href="./index.css" />
        <link href="assets/css/bootstrap-responsive.css" rel="stylesheet" />
        <link
            href="https://cdn.jsdelivr.net/npm/bootstrap@5.0.2/dist/css/bootstrap.min.css"
            rel="stylesheet"
            integrity="sha384-EVSTQN3/azprG1Anm3QDgpJLIm9Nao0Yz1ztcQTwFspd3yD65VohhpuuCOmLASjC"
            crossorigin="anonymous"
        />

        <title>Base64 File Upload</title>
    </head>
    <body>
        <div style="margin: 24px">
            <h2>Upload Image</h2>
        </div>

        <div style="margin: 16px; padding: 16px">
            <input
                class="form-control form-control-lg"
                id="selectAvatar"
                type="file"
            />
        </div>
        <div class="container">
            <div class="row">
                <div class="col">
                    <h6>Image Preview:</h6>
                    <img class="img" id="avatar" />
                </div>
                <div class="col">
                    <h6>Base64 Output</h6>
                    <textarea id="textArea" rows="30" cols="50"></textarea>
                </div>
            </div>
        </div>
        <script src="./index.js"></script>
    </body>
</html>
Our fields are ready to display the image file and Base64 code. Now let's do our operations on the JavaScript side.
const input = document.getElementById("selectAvatar");
const avatar = document.getElementById("avatar");
const textArea = document.getElementById("textAreaExample");

const convertBase64 = (file) => {
    return new Promise((resolve, reject) => {
        const fileReader = new FileReader();
        fileReader.readAsDataURL(file);

        fileReader.onload = () => {
            resolve(fileReader.result);
        };

        fileReader.onerror = (error) => {
            reject(error);
        };
    });
};

const uploadImage = async (event) => {
    const file = event.target.files[0];
    const base64 = await convertBase64(file);
    avatar.src = base64;
    textArea.innerText = base64;
};

input.addEventListener("change", (e) => {
    uploadImage(e);
});
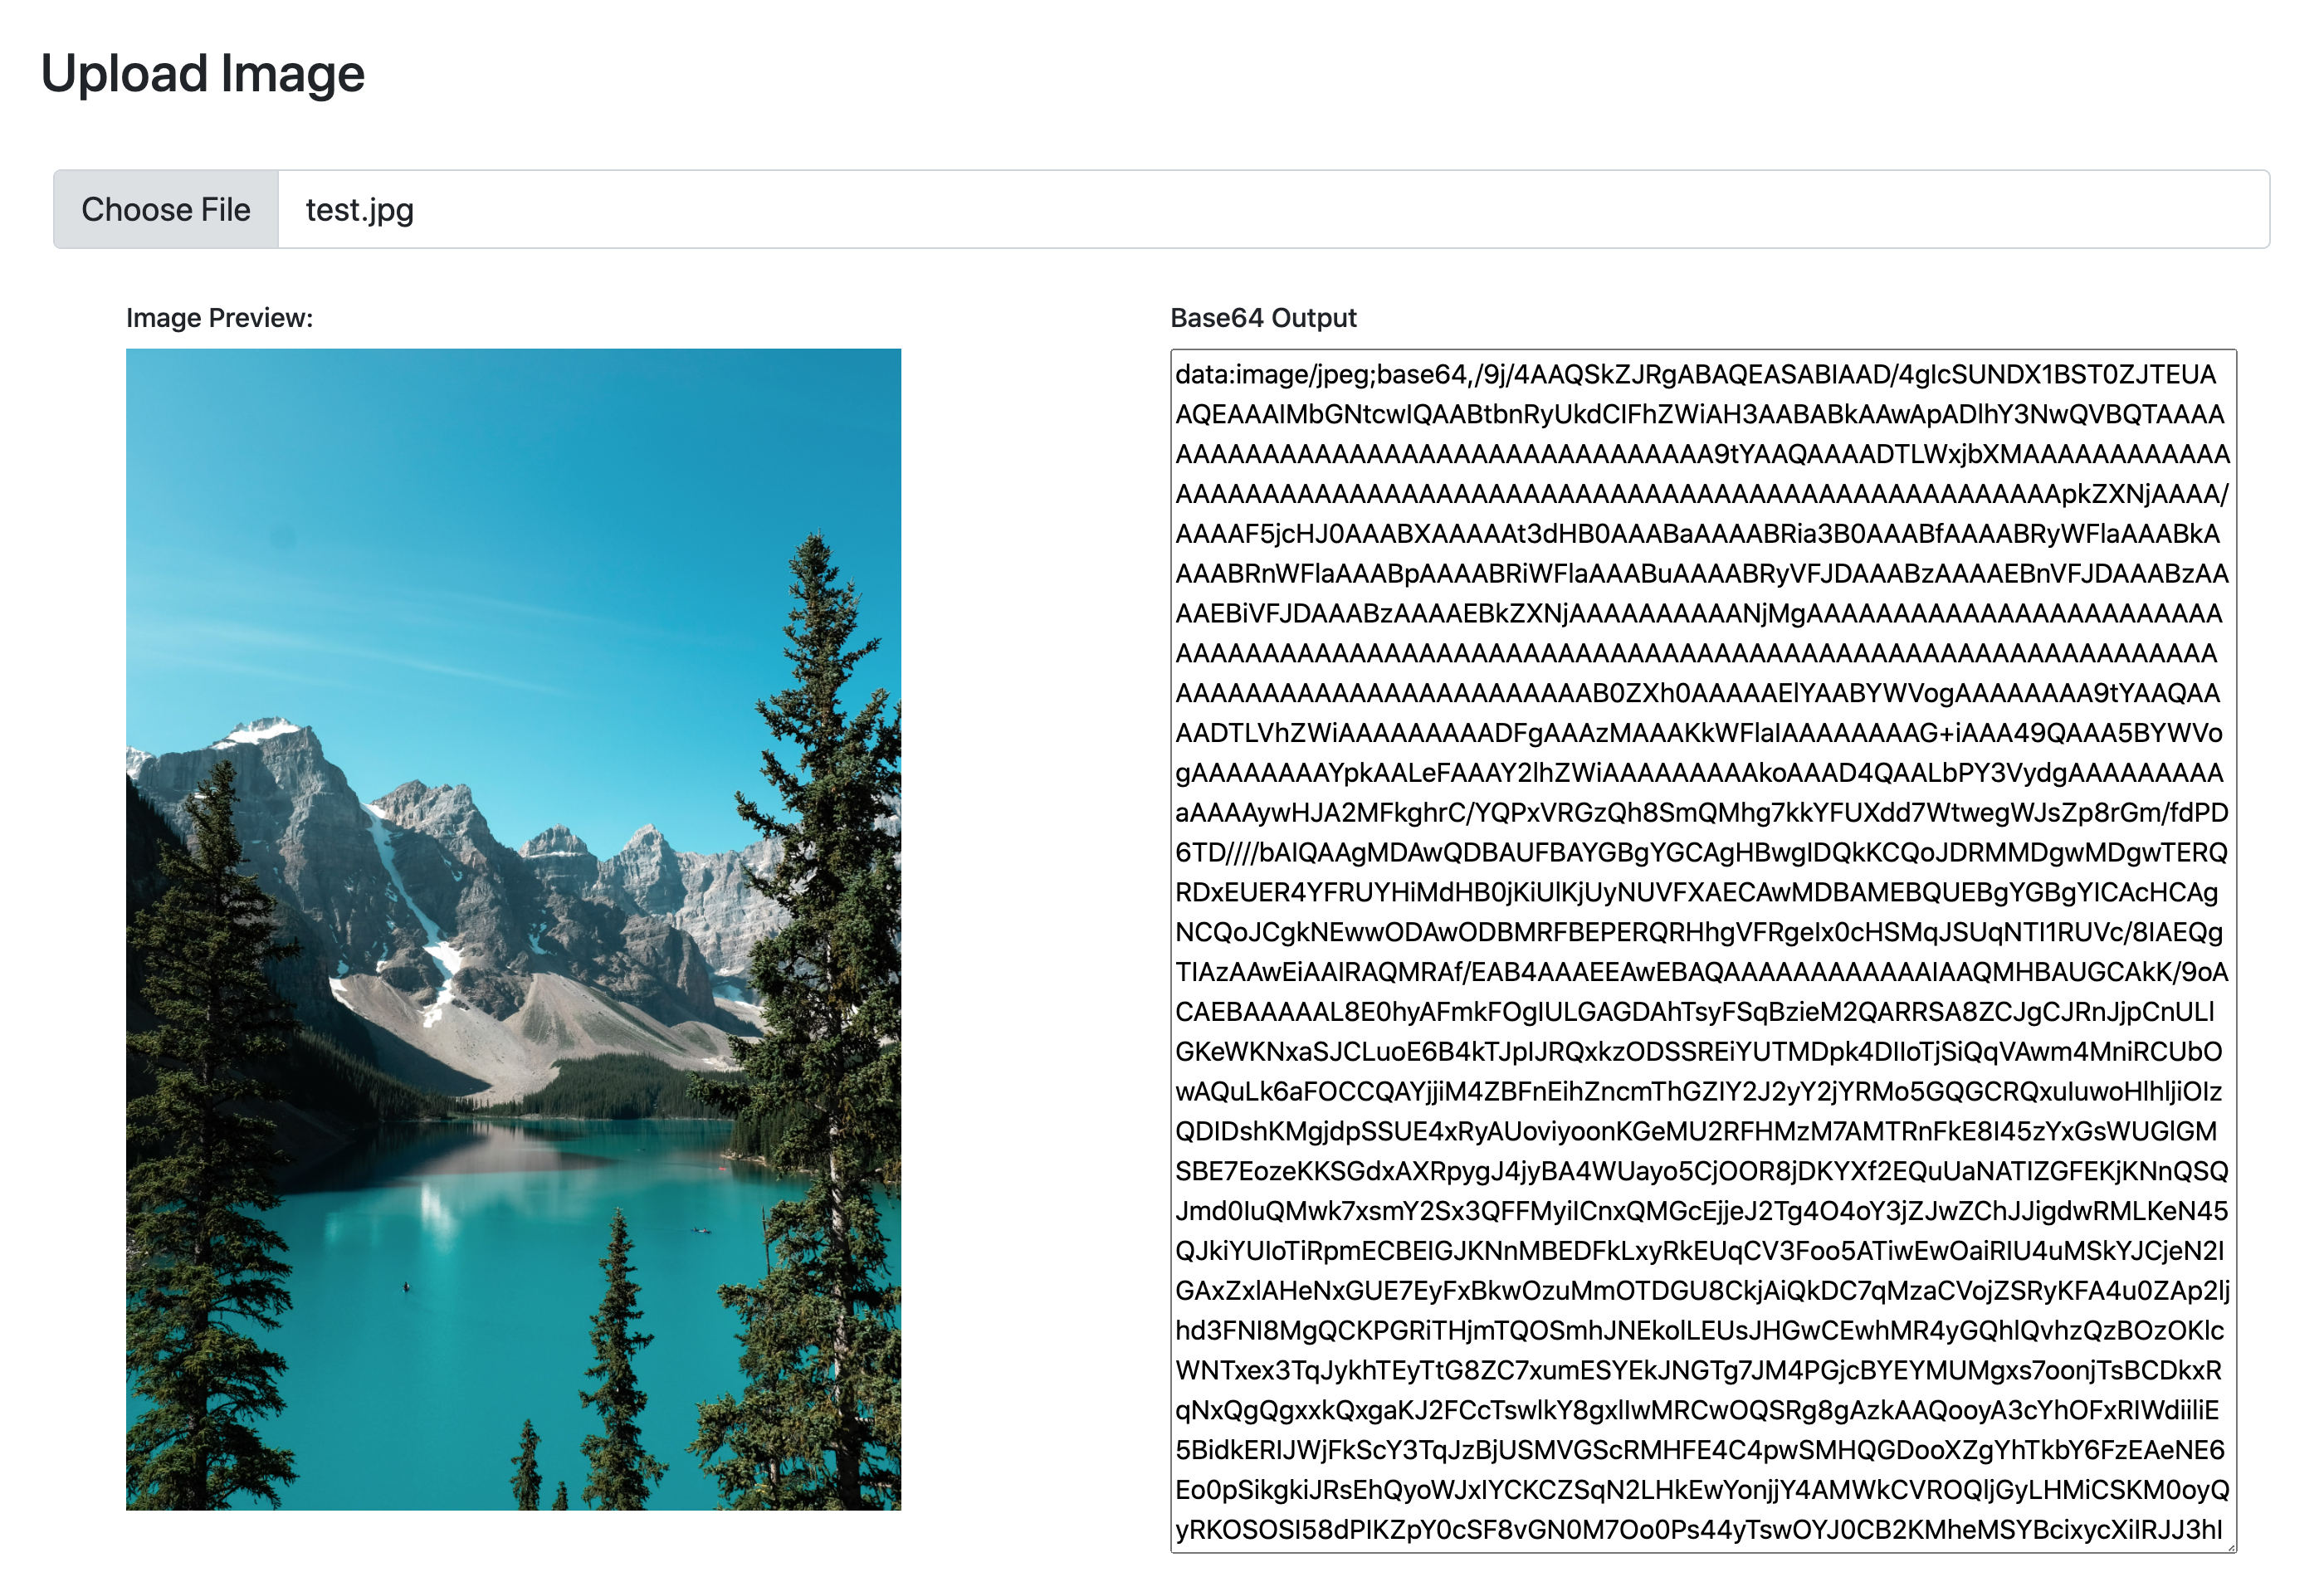
Here we take data in file format and encode it as Base64. Then we show this encoded image and Base64 encoding output.
Live Codesandbox Example

How to Base64 Upload with Refine?
The Base64 file upload process with refine is very simple. How to use it is explained step by step in the guide and example.
Refer to the refine Base64 Upload guide for more information. →
Example
npm create refine-app@latest -- --example upload-antd-base64